Get a subscription
Copy a Clash/Mihomo subscription URL from your provider, then return to Clash Meta for Android to import it. This guide uses 畅连 as an example.

Add the subscription
Tap Profiles, then the + button in the upper-right corner, and choose Import from URL.

Tap the URL field, paste the subscription URL, confirm it, and then save the profile.

Activate the profile
Select the subscription you just added on the Profiles page, then return to the home screen.

Select a node
Open the proxy configuration and select a node from the relevant policy group before testing the connection.

Start the proxy
Tap the Start button at the top. Android will show a VPN connection request the first time; approve it to continue.

After startup, check for the VPN icon in the status bar. Open a target website, then return to the client to confirm the connection record and matched rule.
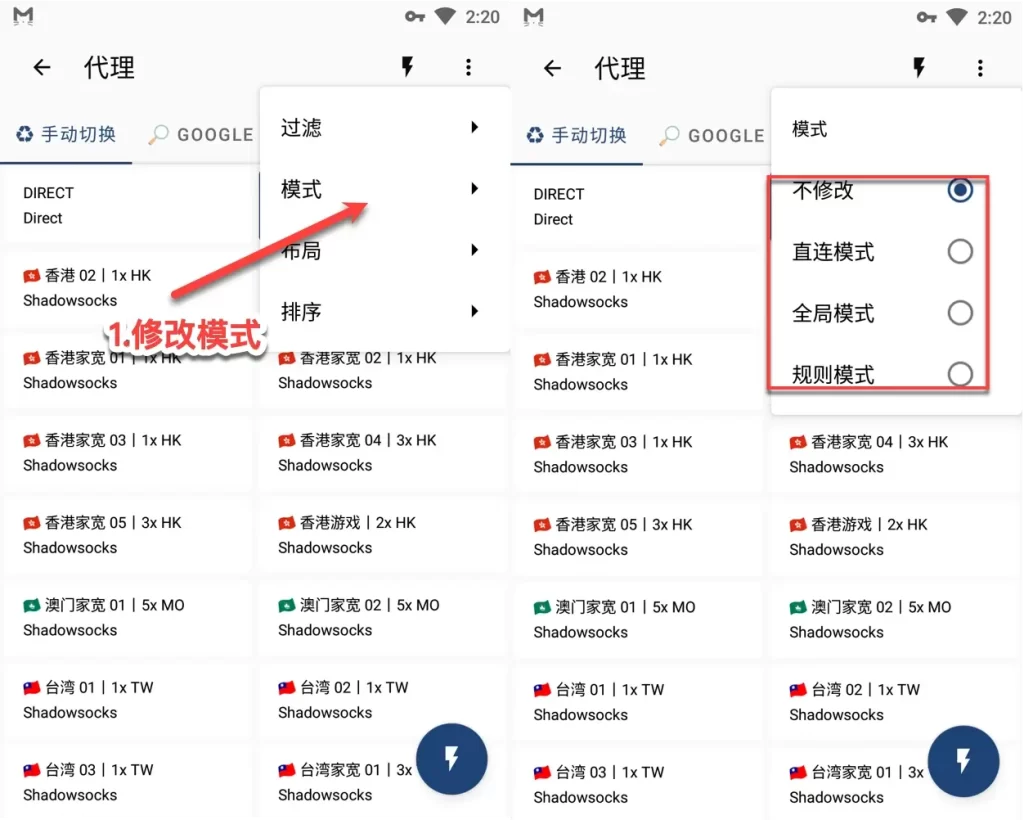
Understand proxy modes
Clash Meta for Android provides three proxy modes:
- Global: sends every request through the proxy server.
- Rule: routes requests according to the profile rules.
- Direct: connects every request directly.
Rule mode is the default and normally keeps suitable traffic direct while proxying destinations matched by the rules. If a site fails in Rule mode, switch briefly to Global mode to determine whether routing rules are the cause.